Hey There, Cheesecake Lover! Let’s Make Magic in Mini Form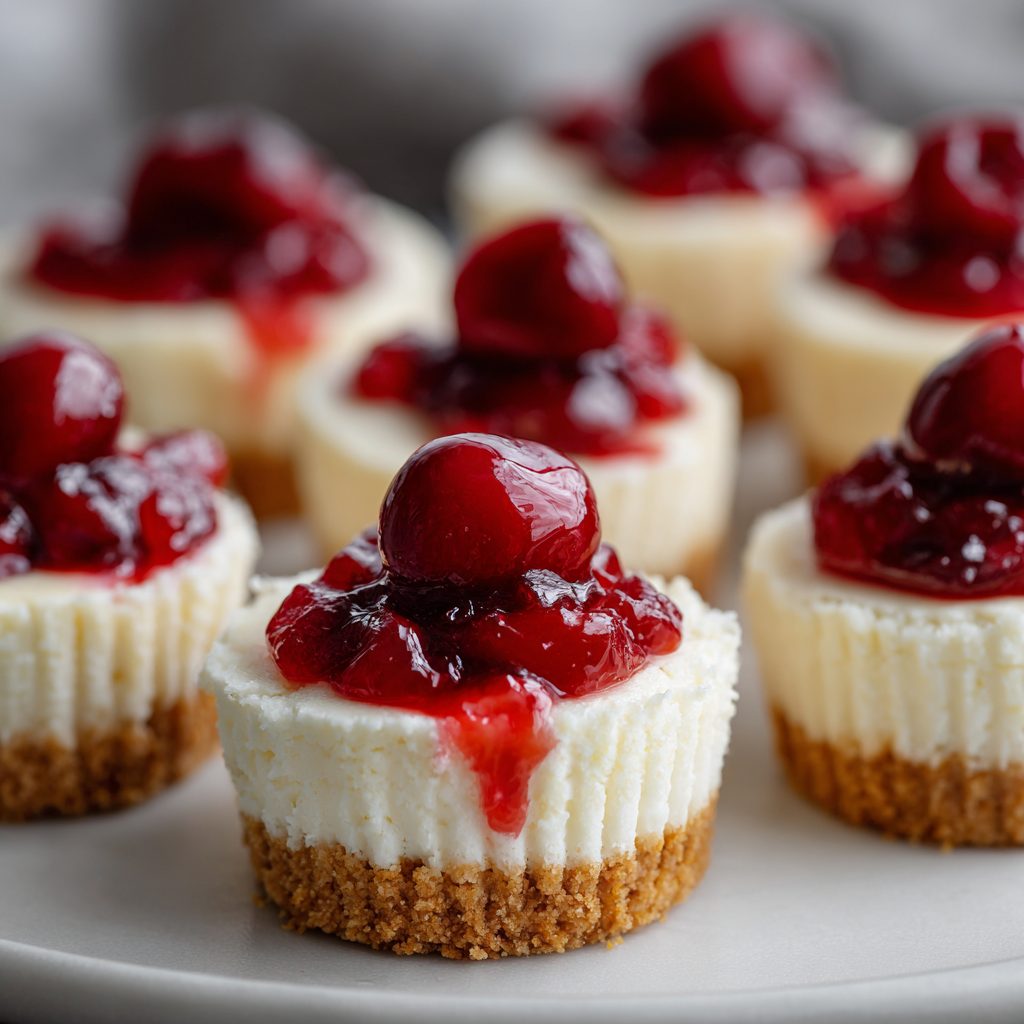
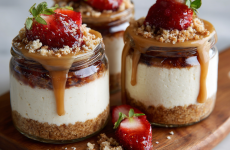
Is there anything more joyful than a dessert that fits in the palm of your hand? Picture this: creamy, cloud-like cheesecake perched on a crispy vanilla wafer, crowned with a plump cherry that glistens like edible jewelry. That’s the irresistible charm of these Mini Cheesecakes – and trust me, they’re about to become your secret weapon for every gathering, potluck, or “I deserve a treat” Tuesday. 🍒
As a flavor explorer who believes good food shouldn’t require a PhD or a pantry the size of a warehouse, I’m obsessed with recipes that deliver huge happiness with minimal fuss. These mini marvels? They’re the epitome of that philosophy. No water baths, no cracking anxieties, and no fancy equipment needed. Just straightforward, soul-warming goodness that’ll have friends begging for the recipe. Whether you’re wrangling kids, prepping for book club, or surprising your neighbor, these portable bites are your golden ticket. So tie on that apron – we’re about to create bite-sized bliss that’ll make your taste buds sing!
Why mini? Because life’s too short for mediocre desserts, and everything’s cuter (and more fun) in miniature. Plus, portion control? Pfft. Have two! Or three. No judgment here.
That Time I Almost Burned Down the Dorm (A Cheesecake Origin Story)
PrintMini Cheesecakes
Creamy, dreamy, and irresistibly cute—these Mini Cheesecakes are a classic crowd-pleaser! With a vanilla wafer crust, rich cheesecake filling, and a sweet cherry topping, they’re the perfect make-ahead dessert for parties, holidays, or anytime cravings.
- Prep Time: 10 mins
- chill time: 2 hours
- Cook Time: 18 mins
- Total Time: 2 hours 28 minutes
Ingredients
1 (12 oz) package vanilla wafers
2 (8 oz) packages cream cheese, softened
¾ cup white sugar
2 large eggs
1 tsp vanilla extract
1 (21 oz) can cherry pie filling
Instructions
Preheat oven to 350°F (175°C). Line a muffin tin with paper liners.
Place one vanilla wafer at the bottom of each liner.
In a bowl, beat cream cheese and sugar until smooth. Add eggs and vanilla; mix until combined.
Spoon mixture over wafers, filling each cup about ¾ full.
Bake for 15–18 minutes or until centers are set.
Cool completely, then chill in the fridge for at least 2 hours.
Top each cheesecake with cherry pie filling before serving.
Notes
Storage: Refrigerate up to 5 days
Sweet, creamy, and topped with fruit—these mini treats are a bite of cheesecake heaven!
Nutrition
- Calories: 170 per cheesecake
Let me take you back to my college days – think tiny dorm kitchen, one sad saucepan, and a serious craving for cheesecake after finals week. Armed with grandma’s classic recipe and zero patience, I attempted a full-sized version in a makeshift oven that cycled between “arctic” and “inferno.” Spoiler: It erupted like a dairy volcano, flooding the oven with molten cream cheese and setting off every smoke alarm on the floor. Cue 20 pajama-clad students glaring at me in the hallway at 2 AM. 🚨
That disaster taught me two things: 1) Always respect your oven’s mood swings, and 2) Miniaturization is genius. When I discovered mini cheesecakes years later – no cracking, no water baths, bake time under 20 minutes – I did a happy dance right there in the grocery aisle. These became my redemption arc! Now, they’re my go-to for everything from holiday parties to “oops I forgot dessert” emergencies. They’re foolproof, forgiving, and taste like nostalgia without the fire department’s involvement.
Your Cheesecake Toolkit: Simple Stars, Big Flavor
Gather these heroes – most might already be in your kitchen! Pro tip: Set cream cheese and eggs on the counter 1-2 hours before starting. Room temp ingredients = silkier filling. Promise.
- 1 (12 oz) package vanilla wafers: These sweet, crisp circles are the PERFECT crust – no crumbling needed! Chef’s hack: Swap with graham crackers (crushed + mixed with 2 tbsp melted butter) or even Oreos for chocolate lovers.
- 2 (8 oz) blocks cream cheese, softened: Full-fat is non-negotiable for that lush texture. Low-fat versions weep or turn rubbery. Insider tip: Philadelphia brand works best!
- ¾ cup white sugar: Just the right sweetness. For deeper flavor, try ½ cup white + ¼ cup brown sugar.
- 2 large eggs: Your binding agents! Cold eggs = lumpy filling. Pro move: Crack into a separate bowl first to avoid shell surprises.
- 1 tsp vanilla extract: Pure vanilla > imitation. It’s the aromatic hug your cheesecake deserves.
- 1 (21 oz) can cherry pie filling: The classic crown jewel! Lazy gourmet swap: Fresh berries, salted caramel, or lemon curd work wonders too.
Why this works: Each ingredient plays backup singer to the creamy filling. No divas here – just teamwork!
Let’s Build Some Bite-Sized Joy: Step-by-Step
Follow these foolproof steps – I’ve baked thousands of these, so I’ve included all my hard-earned hacks!
- Preheat oven to 350°F (175°C). Line muffin tin with paper liners. Game-changer: Spritz liners with baking spray so cheesecakes slide out cleanly later. Use a standard 12-cup tin – you’ll bake in batches.
- Place one vanilla wafer flat-side down in each liner. No pressing needed! They’ll crisp up perfectly beneath the filling. Oops fix: If wafers break? Crumble them + mix with 1 tsp melted butter, then press into liner.
- Beat cream cheese + sugar until smooth (2 mins). Use medium speed! Overbeating = cracks. Scrape bowl sides – hidden lumps are sneaky.
- Add eggs one at a time + vanilla. Mix JUST until combined (30 secs). Golden rule: Once eggs join, less mixing = creamier texture. It should look like velvety sunshine!
- Spoon filling over wafers, filling cups ¾ full. Pro hack: Use an ice cream scoop for mess-free perfection. Leave ¼” space – they puff slightly!
- Bake 15-18 mins until edges set but centers jiggle slightly. Avoid overbaking! They firm up while cooling. Rotate tin halfway for even baking.
- Cool completely in tin on wire rack (1 hour). Rushing = cracks. Then chill uncovered in fridge ≥2 hours. Secret: Overnight chilling makes them even creamier!
- Top with cherries RIGHT before serving. Adding topping too early = soggy wafers. 1 tbsp per cheesecake is perfect.
See? Easier than parallel parking! 👏
Showtime: Serving Your Mini Masterpieces
Presentation is half the fun! Arrange these gems on a vintage cake stand or rustic wooden board. For extra pizzazz:
- Dust with powdered sugar “snow” using a sieve
- Add mint leaves for a pop of green
- Serve with mini forks (dollar store finds!)
They shine at brunches (pair with coffee!), as dinner party finales, or boxed as edible gifts. Pro tip: Let guests DIY their toppings with cherries, chocolate shavings, and whipped cream!
Mix It Up: 5 Delicious Twists
Once you master the base, the flavor playground opens! Try these:
- Lemon-Berry Burst: Add 1 tbsp lemon zest to filling + top with fresh blueberries
- Salted Caramel Crunch: Drizzle with caramel sauce + sprinkle flaky sea salt
- Cookies & Cream: Use Oreo cookies (whole for base, crushed in filling)
- Tropical Escape: Mix ½ cup toasted coconut into filling + top with mango dice
- PB&J Style: Swap cherries for grape jelly + add ¼ cup peanut butter to filling
Mason’s Musings: Cheesecake Confessions
This recipe has been my loyal sidekick for a decade! Early versions used finicky springform pans until mini-eureka struck. My favorite evolution? Discovering that chilling them uncovered prevents condensation “sweat” – game-changer! One chaotic Thanksgiving, my dog swiped a whole tray off the counter. We still laugh about his cherry-stained snout. 🐶
Over time, I’ve learned: Don’t stress perfection. A lopsided cheesecake? Call it “rustic.” Cracked surface? Bury it in topping! What matters is sharing them – I’ve seen these little guys spark conversations, mend squabbles, and create memories. That’s the real magic.
Your Cheesecake SOS: Fixes for Common Hiccups
Q: Why did my centers sink?
A: Overbeating or overbaking! Next time, stop mixing once eggs are incorporated, and pull them when centers jiggle like Jell-O. They’ll firm up while cooling.
Q: Can I freeze these?
A: Absolutely! Freeze UNTOPPED cheesecakes in airtight containers for 2 months. Thaw overnight in fridge, then add cherries. Perfect for surprise guests!
Q: My wafers got soggy. Help!
A: Two tricks: 1) Bake crusts solo for 5 mins before adding filling, or 2) Brush wafers with melted white chocolate before filling – creates a moisture barrier!
Q: Can I use Greek yogurt to lighten them?
A: I don’t recommend it – yogurt alters texture. For lighter version, use Neufchâtel cheese (⅓ less fat) but expect slightly less creaminess.
Nutritional Quick Bite (Per Cheesecake)
Calories: ~170 | Fat: 9g | Carbs: 20g | Protein: 3g | Sugar: 14g
Note: Values vary with ingredient brands/toppings. Enjoy mindfully – or don’t, I won’t tell!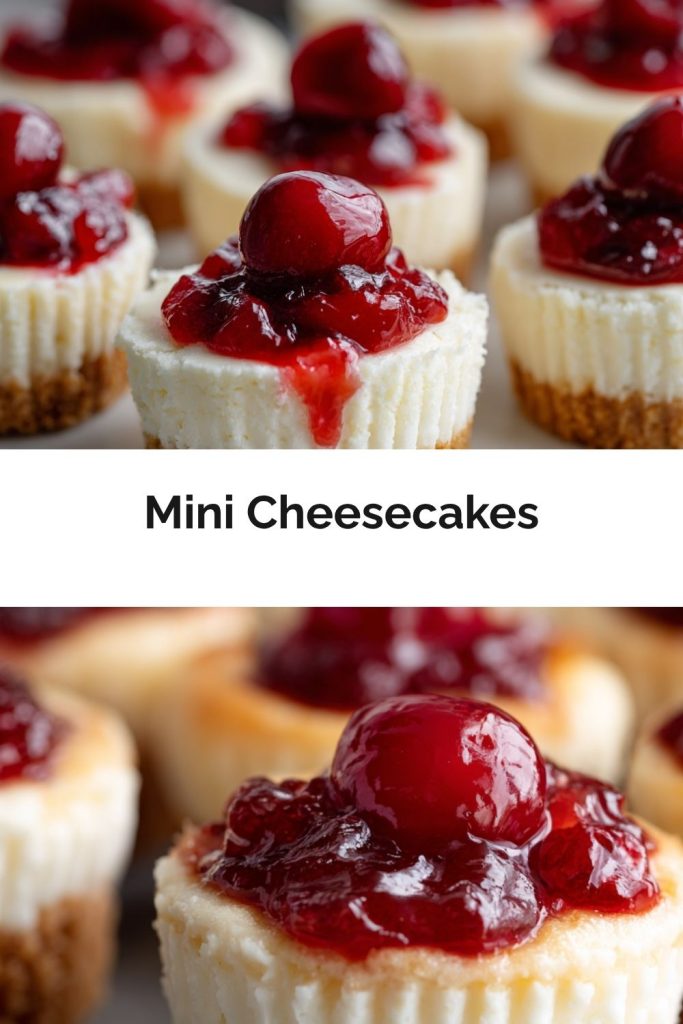
Final Thoughts
These Mini Cheesecakes are more than just adorable bites—they’re joy in cupcake form. Whether you’re baking for a party, a potluck, or a “just because” moment, they deliver creamy indulgence without the stress. No cracking, no water baths, no drama—just that rich, tangy-sweet cheesecake flavor you love, made simple and shareable. From the crispy vanilla wafer base to the cherry-on-top finish, each one’s a tiny celebration. So the next time life calls for dessert (which, let’s be honest, is always), reach for this recipe. Your future self—and your lucky taste testers—will thank you.