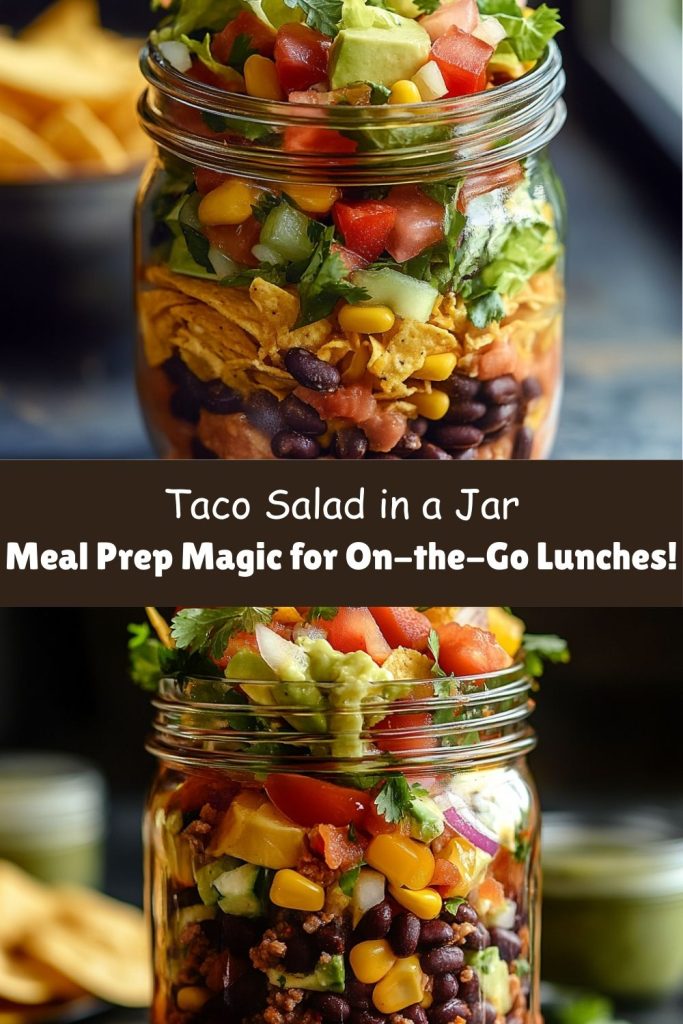
Taco Salad in a Jar: Your New Go-To for Flavor On the Fly
Hey there, foodie friends! Chef Jamie here, ready to spill the beans (literally) on one of my all-time favorite kitchen hacks: Taco Salad in a Jar. Picture this: all the zesty, crunchy, savory goodness of taco night, layered into a portable jar that’s ready to grab for picnics, road trips, or even your 3 p.m. desk snack attack. No more sad, soggy lunches—this salad stays crisp, colorful, and downright delicious. 🙌
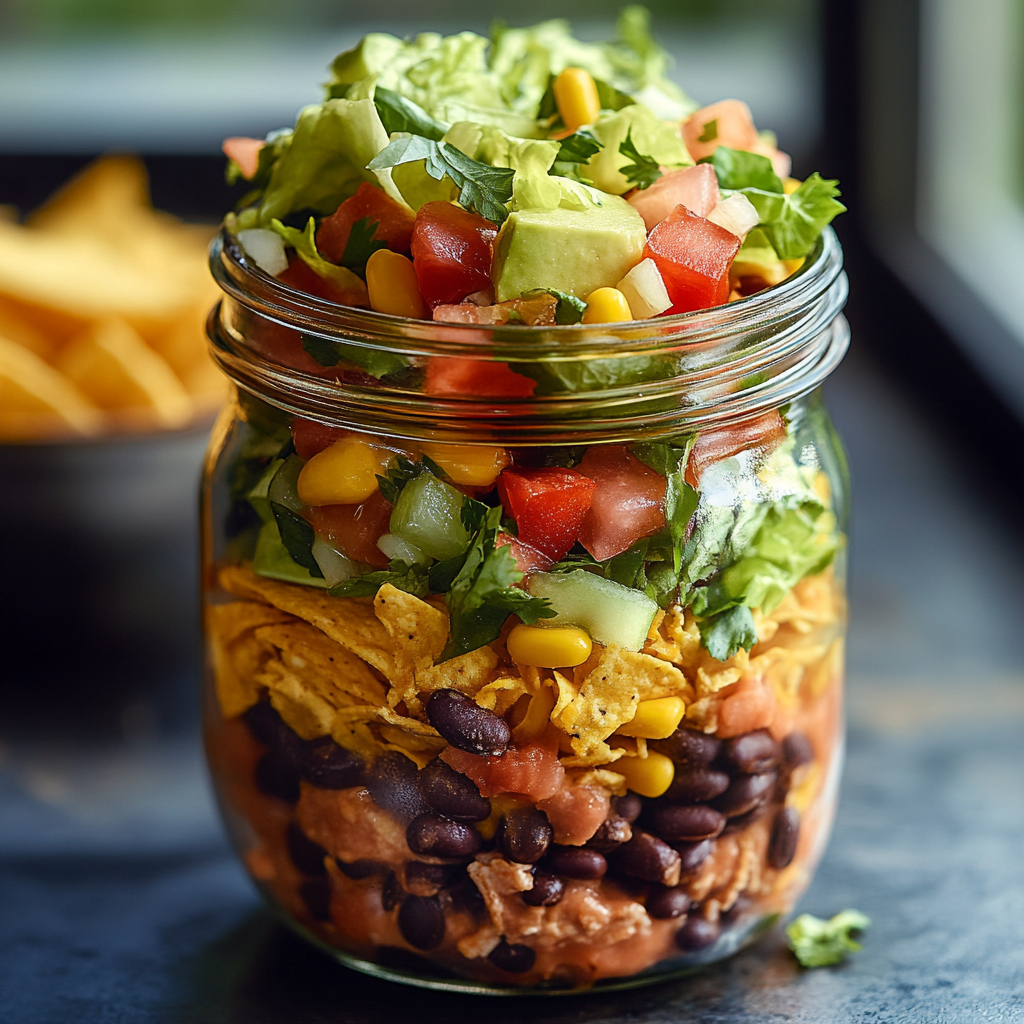
Now, I know what you’re thinking: “But Jamie, why a jar?” Let me tell you, it’s a game-changer. Mason jars aren’t just for pickling cucumbers or storing grandma’s jam. They’re the MVP of meal prep! The magic is in the layers: salsa acts as a zesty “dressing” at the bottom, followed by hearty beans and seasoned beef, then cheese, lettuce, and—the pièce de résistance—crushed tortilla chips on top. When you’re ready to eat, just shake that jar like a maraca and dig in. 🌯✨
Whether you’re planning a backyard BBQ, a hike with friends, or just need a fridge full of ready-to-go meals, this recipe is your flavor-packed BFF. Plus, it’s endlessly customizable. Vegan? Swap the beef for lentils. Low-carb? Skip the chips (but… why though?). Gluten-free? Easy fix—use GF chips and seasoning. You’re in control here, folks.
Taco Salad in a Jar
My First Taco Jar Fiasco (And Why It’s Foolproof Now)
Let me take you back to 2017. I was prepping for a lakeside picnic with my niece, Lucy, who declared, “Uncle Jamie, tacos are NOT picnic food.” Challenge. Accepted. I threw together a jar with all the fixings, but in my haste, I layered the chips at the BOTTOM. Fast-forward to picnic time: soggy tortilla mush. Lucy’s face? Priceless. 😂
But here’s the thing: kitchen fails are just recipe upgrades in disguise. After a few more experiments (and a very patient niece taste-testing), I nailed the formula: crunchy stuff on top, saucy stuff on the bottom. Now, Lucy begs for these jars on every camping trip—and even uses them to bribe her soccer teammates. Moral of the story? Even chefs mess up… but we also learn to fix it with style.
That’s when I really dove deep into the art of layering. I started testing different combinations, from spicy chipotle chicken to sweet potato and corn, to see what held up best and which flavors made the jar pop. The goal? No more limp lettuce, no more flavorless bites, and definitely no more tortilla soup impersonations.
What You’ll Need: The Flavor Lineup
Here’s your grocery list, amigos! Don’t stress if you’re missing something—I’ve got swaps for days. Think of this as your base blueprint. From here, you can riff endlessly based on your pantry, mood, or whatever you scored at the farmer’s market this week.
-
1 lb ground beef or turkey (or plant-based crumbles! I’ve used lentils for a veggie twist)
-
1 packet taco seasoning (or DIY mix: 1 tbsp chili powder + 1 tsp each cumin, garlic powder, paprika)
-
1 cup shredded romaine (iceberg works too, but romaine stays crunchier longer)
-
1 cup black beans, drained and rinsed (protip: rinse ’em to cut sodium by 40%!)
-
1/2 cup salsa (go chunky! Pico de gallo adds fresh tomato vibes)
-
1/2 cup shredded cheese (Mexican blend, cheddar, or dairy-free shreds)
-
1/2 cup crushed tortilla chips (or Fritos for a wild card crunch)
-
Optional MVP toppings: dollop of Greek yogurt (sour cream’s healthier cousin), avocado slices, pickled jalapeños, or a squeeze of lime!
Want to bulk it up? Add corn, chopped bell peppers, red onions, or cooked quinoa for extra fiber and flavor. Want to lighten it? Use Greek yogurt in place of sour cream and go easy on the cheese. It’s all about balance, my friends.
Let’s Build Those Jars: Layer Like a Pro
Ready to assemble your edible masterpiece? Follow these steps—and no, you don’t need a culinary degree!
-
Cook the Protein: Brown your beef (or turkey/lentils) in a skillet over medium heat. Drain any grease, then stir in taco seasoning + 1/4 cup water. Let it simmer for 5 minutes until saucy.
Chef’s tip: Let it cool slightly before jarring—hot meat = wilted lettuce. 😬 -
Start Layering: Grab quart-sized mason jars (wide mouth = no spillage!). Layer in this order:
-
Bottom Layer: Salsa or pico (this’s your “dressing”!)
-
Next Up: Black beans (they’ll soak up that salsa flavor)
-
Then: Seasoned meat (pack it down gently)
-
Followed By: Cheese (melts slightly into the warm meat—yum)
-
Penultimate Layer: Lettuce (keep it lofty!)
-
Grand Finale: Crushed chips (seal the deal with crunch)
-
-
Storage Hack: Screw the lid on tight and refrigerate for up to 4 days. Need longer shelf life? Freeze the meat layer separately!
-
Serve It Up: When hunger strikes, shake the jar like you mean it! Or dump it into a bowl, add avocado, and pretend you’re at a beachside taqueria. 🌴
How to Serve: Shake, Pour, or Fancy It Up
This salad’s a chameleon! For work lunches: eat straight from the jar (zero cleanup). Hosting friends? Pour jars into bowls and add a DIY topping bar: lime crema, fresh cilantro, grilled corn, or pickled onions. Bonus points if you tie a mini chip bag to the jar with twine—picnic vibes unlocked. 🧺
For road trips? Pack a cooler and hand out jars at the next rest stop. You’ll be a snack hero. For date night? Build two jars and share over Netflix and guac. Romantic, right?
Mix It Up: 5 Twists to Try
Once you’ve mastered the classic Taco Salad in a Jar, the real fun begins. This recipe is a blank canvas for all kinds of flavor adventures. Whether you’re craving something spicy, sweet, smoky, or even breakfast-worthy, here are five easy ways to remix your jars and keep your taste buds on their toes:
1. Breakfast Taco Jar
Who says tacos are only for lunch? Layer scrambled eggs, crumbled breakfast sausage or chorizo, hash browns, and shredded cheese. Add a scoop of salsa verde or a dollop of sour cream, and finish with some crushed tortilla chips or mini tater tots for crunch. This one is perfect for early-morning hikes, busy school mornings, or brunch on the go.
Bonus tip: Add sautéed peppers and onions for a Tex-Mex twist—or swap eggs for tofu scramble if you’re keeping it plant-based.
2. Vegan Fiesta Jar
Packed with plant power, this version uses lentils, black beans, corn, chopped tomatoes, and a generous spoonful of guacamole or avocado. Layer with dairy-free cheese or a drizzle of cashew queso, and top with crisp romaine and crushed tortilla strips. You won’t even miss the meat—promise.
Flavor boost: Add pickled red onions, lime juice, and fresh cilantro to make it pop.
3. Seafood Lover’s Jar
If you’re feeling fancy, try shrimp as your protein. Sauté in olive oil with chili powder, garlic, and lime juice, then layer with black beans, mango or pineapple salsa, shredded cabbage or lettuce, and crushed plantain chips. It’s light, tropical, and totally vacation-worthy—even if you’re eating it in your kitchen.
Pro move: Add a creamy chipotle mayo or avocado crema for that next-level finish.
4. Low-Carb Crunch Jar
For the keto or low-carb crowd, ditch the tortilla chips and go for a base of cauliflower rice and romaine. Use ground beef or grilled chicken, and add cheese, olives, diced peppers, and a spoonful of salsa or guacamole. For crunch, top with crushed pork rinds or roasted pepitas (pumpkin seeds).
Don’t forget: This one’s super satisfying and great for keeping you full all afternoon.
5. BBQ Pulled Pork Jar
Not your average taco, but oh-so-delicious. Start with BBQ pulled pork (store-bought or slow-cooked at home), then layer with black beans, corn, shredded cheddar, and crunchy coleslaw. Top with fried onions or kettle-cooked BBQ chips for a smoky-sweet Southern spin.
Unexpected win: Try a drizzle of ranch or creamy jalapeño sauce to tie it all together.
Chef Jamie’s Extra Crunchy Tips
True story: I once forgot the chips and used Chex Mix instead. Lucy still hasn’t let me live it down. 😅 Here’s what I’ve learned since:
-
Make it Mini: Use 8-oz jars for kid-sized portions (perfect for lunchboxes!)
-
Prevent Sogginess: Add a lettuce “barrier” between wet and dry ingredients
-
Freeze-Friendly: Freeze the meat/bean layer for up to 3 months. Thaw overnight, then add fresh toppings
-
Taco Night Hack: Let everyone build their own jar at the dinner table—great for picky eaters or dietary restrictions
-
Jar Swap: Don’t have mason jars? Use a tall plastic container with a screw-top lid. Just make sure it seals well!
Also, pro packing tip: keep a stash of tiny salt/pepper packets and hot sauce in your bag or car. Your future self will thank you.
FAQs: Your Questions, Answered
Q: How long do these jars last in the fridge?
A: 3–4 days max! The lettuce stays crisp if you layer correctly. Pro tip: Wait to add chips until the day you eat it.
Q: Can I make this vegetarian/vegan?
A: Absolutely! Swap beef for lentils or plant-based crumbles, use dairy-free cheese, and skip sour cream (or use cashew cream).
Q: My chips got soggy. Help?!
A: Two fixes: 1) Store chips separately in a snack bag and add them last minute, or 2) Use sturdier chips like Late July or Doritos (they hold up better).
Q: Can I meal prep these for the whole week?
A: You bet! Just don’t add the chips or avocado until serving day. The rest holds up beautifully.
Q: Are there kid-friendly versions?
A: Totally! Go mild on the seasoning, skip jalapeños, and let them add their favorite toppings. Even picky eaters love this hands-on meal.
Nutrition Per Jar (Because Knowledge is Power)
Calories: ~400 | Protein: 25g | Carbs: 20g | Fat: 25g | Sodium: 700mg | Sugar: 4g | Fiber: 5g
Note: Stats vary based on toppings. Add avocado? Healthy fats for the win! 🥑
Final Bite
So there you have it—Taco Salad in a Jar: the portable, prep-ahead, power-packed meal that’s taken over my fridge (and my heart). Whether you’re meal prepping like a boss, heading to the park, or just tired of sad desk lunches, this layered beauty has your back. And hey, if your first jar flops like mine did, laugh it off and try again. You’ve got this.
Let’s taco ’bout how amazing your week’s about to taste. 🌮💪
Tag me @ChefJamieEats if you make it—I’d love to see your jar creations!