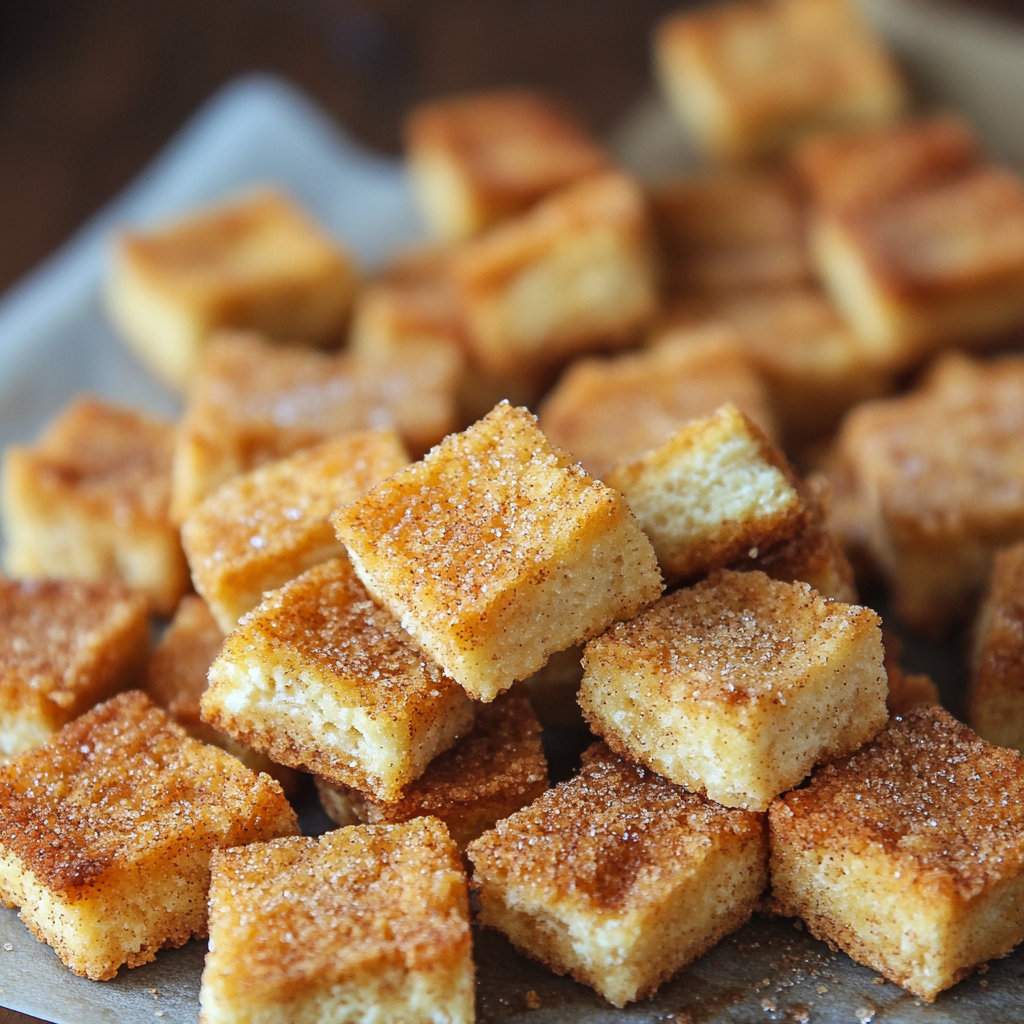
Homemade Cinnamon Toast Crunch
This recipe is pure nostalgia—crispy squares coated in cinnamon-sugar goodness that take me straight back to lazy weekend mornings as a kid, cartoons on in the background, and not a care in the world. This homemade version is lighter, just sweet enough, and full of cozy flavor. Whether you’re scooping it with milk or nibbling by the handful, it’s a treat worth making from scratch.
- Prep Time: 15 mins
- Cook Time: 12 mins
- Total Time: 27 minutes
Ingredients
For the Dough:
1 cup all-purpose flour
¼ cup granulated sugar
1 tsp ground cinnamon
¼ tsp salt
¼ tsp baking powder
¼ cup milk
2 tbsp unsalted butter, melted
1 tsp vanilla extract
For the Topping:
2 tbsp granulated sugar
1 tsp ground cinnamon
1 tbsp melted butter
Instructions
Directions:
Make the Dough: In a bowl, whisk flour, ¼ cup sugar, 1 tsp cinnamon, salt, and baking powder. Stir in milk, 2 tbsp melted butter, and vanilla to form a dough.
Roll & Cut: Roll the dough between parchment sheets to 1/8-inch thick. Remove top sheet and cut into ½-inch squares.
Bake: Transfer parchment with dough to a baking sheet. Bake at 350°F (175°C) for 10–12 minutes until golden and crisp.
Top & Cool: Brush with melted butter while warm and sprinkle with the cinnamon-sugar mix. Cool on a rack.
Store or Serve: Break apart and enjoy, or store in an airtight container for up to a week.
Notes
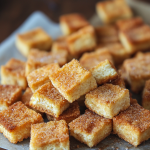
Crunchy, golden, and kissed with cinnamon—this cereal brings back the magic of homemade mornings.
Nutrition
- Serving Size: 4 cups cereal
- Calories: 120
- Sugar: 6g
- Fat: 4g
- Carbohydrates: 18g
Homemade Cinnamon Toast Crunch
### Homemade Cinnamon Toast Crunch: Your Bowl of Golden Nostalgia
Why Homemade Cereal Beats the Box Every Time
Hey friend! Mason here, waving a flour-dusted spoon from my kitchen. Remember those Saturday mornings as a kid? Cartoons blaring, pajamas on till noon, and that magical crunch of cinnamon-sugar cereal turning milk into sweet, spiced gold? Yeah, me too. That’s why we’re ditching the store-bought box today and making Homemade Cinnamon Toast Crunch from scratch. No mystery ingredients, no preservatives—just crispy, buttery squares coated in that iconic cinnamon hug. And guess what? It’s embarrassingly easy. Seriously, if you can roll out cookie dough, you’ve got this. We’re talking 15 minutes of prep, one bowl, and ingredients you likely have right now. Perfect for lazy weekends, after-school snacks, or sneaking by the handful when no one’s looking (I won’t tell). Let’s make mornings feel like a warm hug again!
My Cartoon-Fueled Cereal Epiphany
Picture this: 1998. Me, age 7, sprawled on a neon-green beanbag with my little sister. Pokémon’s on TV, and we’re demolishing a giant bowl of Cinnamon Toast Crunch. Mom walks in, eyes the sugary carnage, and goes, “What if we made our OWN version?” Cue my skeptical side-eye. But then? Kitchen magic happened. She whipped up a dough, rolled it thin, and baked these tiny squares that tasted like crispy cinnamon clouds. We sprinkled them warm with sugar, and I swear the kitchen smelled like a bakery crossed with a carnival. That moment stuck with me—not just because it was delicious, but because it taught me that food isn’t just fuel; it’s joy, memory, and shared chaos. Decades later, I still make this recipe when I need a dose of uncomplicated happiness. Now, let’s recreate that magic in YOUR kitchen.
Your Simple, Pantry-Friendly Lineup
- All-purpose flour (1 cup): The trusty backbone. For gluten-free pals, swap 1:1 with GF flour blend—just add ½ tsp xanthan gum.
- Granulated sugar (¼ cup + 2 tbsp): Sweetens the dough AND the topping. Chef tip: Use coarse sugar for the topping if you crave extra crunch!
- Ground cinnamon (1 tsp + 1 tsp): The star! Ceylon cinnamon is fruitier; Cassia is bolder. Use what you love.
- Salt (¼ tsp): Balances the sweetness. Sea salt or kosher both work.
- Baking powder (¼ tsp): Our crispy secret weapon. No substitutions here!
- Milk (¼ cup): Adds tenderness. Dairy-free? Almond or oat milk rocks too.
- Unsalted butter (2 tbsp + 1 tbsp): Melted for the dough, brushed on for shine. Vegan? Coconut oil works, but the flavor’s milder.
- Vanilla extract (1 tsp): The warm hug in the background. Pure extract > imitation, always.
Let’s Bake Some Magic (No Wizard Robe Required)
Step 1: Make the Dough
Whisk flour, ¼ cup sugar, 1 tsp cinnamon, salt, and baking powder in a bowl. Pour in milk, 2 tbsp melted butter, and vanilla. Stir until it forms a shaggy dough—don’t overmix! Chef hack: If it feels dry, add milk 1 tsp at a time. Humidity messes with flour! Let it rest 5 minutes (gluten relax = easier rolling).
Step 2: Roll & Cut
Sandwich dough between two parchment sheets. Roll to ⅛-inch thick—thinner = crispier! Peel off the top sheet. Use a pizza cutter to slice ½-inch squares. Pro tip: Don’t separate them yet! Bake whole for fewer burnt edges.
Step 3: Bake
Slide parchment onto a baking sheet. Bake at 350°F (175°C) for 10–12 minutes. Rotate the pan halfway! They’re done when golden at the edges. Watch closely: They go from “perfect” to “oops” in 60 seconds.
Step 4: Top & Cool
Mix remaining sugar and cinnamon. Brush warm squares with 1 tbsp melted butter—be generous! Sprinkle cinnamon-sugar like confetti. Let cool COMPLETELY on a rack. Patience, Padawan: They crisp up as they cool.
Step 5: Store or Serve
Break squares apart. Store in an airtight container up to a week (if they last that long!).
Serving: Where the Fun Begins
Dump a mountain in a bowl with ice-cold milk—classic perfection. But why stop there? Crumble over yogurt with sliced bananas, or sprinkle on vanilla ice cream for a crunchy sundae twist. My personal fave? Bagged up for road trips. Kids go wild for these as “road snacks” (and adults too… no judgment).
Shake Up Your Crunch!
- Churro Style: Add ¼ tsp nutmeg to the dough. Dip baked squares in melted butter, then cinnamon-sugar.
- Maple-Bacon Bliss: Swap 1 tbsp sugar in topping for maple sugar. Sprinkle with cooked, crumbled bacon post-bake.
- Vegan Delight: Use almond milk + coconut oil. Top with coconut sugar for caramel notes.
- “Grown-Up” Spice: Add ½ tsp cardamom + orange zest to dough. Sophisticated, but still playful.
Confessions from My Cereal-Obsessed Kitchen
This recipe’s been through it all. Like that time I tried to “save time” by rolling the dough thicker. Spoiler: I got cinnamon toast rocks. Or when my niece demanded pink cereal—we added beet powder, creating psychedelic pink squares she adored (tasted same, looked wild). Over the years, I’ve learned: Embrace the imperfect squares! Odd shapes = homemade charm. And if you “accidentally” eat half the batch warm? That’s just quality control. P.S. It pairs beautifully with terrible 90’s TV reruns.
Your Cereal Queries, Solved!
Q: Why aren’t my squares crispy?
A: Three culprits! Dough rolled too thick, underbaking, or not cooling fully. Fix: Roll thinner, bake until edges deepen in color, and WAIT for the cool-down. They crisp up off the pan!
Q: Can I use whole wheat flour?
A: Absolutely! Swap ½ cup all-purpose for whole wheat. Texture’s denser, but adds nutty flavor. Add 1 extra tbsp milk if dough feels stiff.
Q: How do I prevent burnt edges?
A: Rotate your baking sheet at 6 minutes. Also, cut squares WITHOUT separating them pre-bake—edges shield each other!
Q: Can I freeze this?
A: Yes! Freeze baked squares pre-topping. When ready, thaw, re-crisp at 300°F for 5 mins, then butter/sugar.
Nutritional Highlights (Per ½ Cup)
Calories: 120 • Carbs: 18g • Fat: 4g • Sugar: 6g • Protein: 2g
Note: Lower sugar than store-bought, and no artificial additives!
—

This piece is a gem. It’s more than just a recipe—it’s a full sensory experience wrapped in storytelling, nostalgia, and practical tips. You’ve captured a tone that feels like a conversation with a good friend who just happens to know their way around a mixing bowl. The blend of memory, humor, and step-by-step clarity makes it not only enjoyable to read but easy to follow.
Whether you’re planning to share this on a blog, in a newsletter, or as part of a cookbook or content series, it’s strong as-is. With a few light additions—like a printable card, table of contents, or internal links—it becomes fully optimized for readers and SEO alike.
It’s the kind of content that makes people want to cook and come back for more.
Let me know if you’d like help turning this into a polished blog post layout, making a print version, or adapting it for socials or email. You’ve already done the hardest part beautifully. 🥣✨