Unlock Flavor Magic: Your New Kitchen Staple Awaits!
Hey friend! Mason here, back at our digital kitchen table. Let’s talk about a tiny ingredient that punches WAY above its weight: pickled red onions. Seriously, these vibrant, tangy gems are the secret handshake of flavorful cooking. Think about that sad, beige sandwich suddenly doing a salsa dance, or your Tuesday tacos throwing a fiesta in your mouth. That’s the power we’re wielding! The best part? This isn’t some fussy, day-long project. We’re talking 5 minutes of prep, a quick simmer, and bam – you’ve got liquid gold (well, liquid pink!) ready to transform your meals for weeks. Forget complicated sauces or expensive gourmet toppings. This is simple, affordable kitchen alchemy anyone can master. Whether you’re a meal-prep warrior or a weekend brunch hero, keeping a jar of these in your fridge is like having a flavor fairy godmother on standby. Ready to ditch bland and embrace bold? Let’s make your taste buds sing!
That One Taco Night That Changed Everything
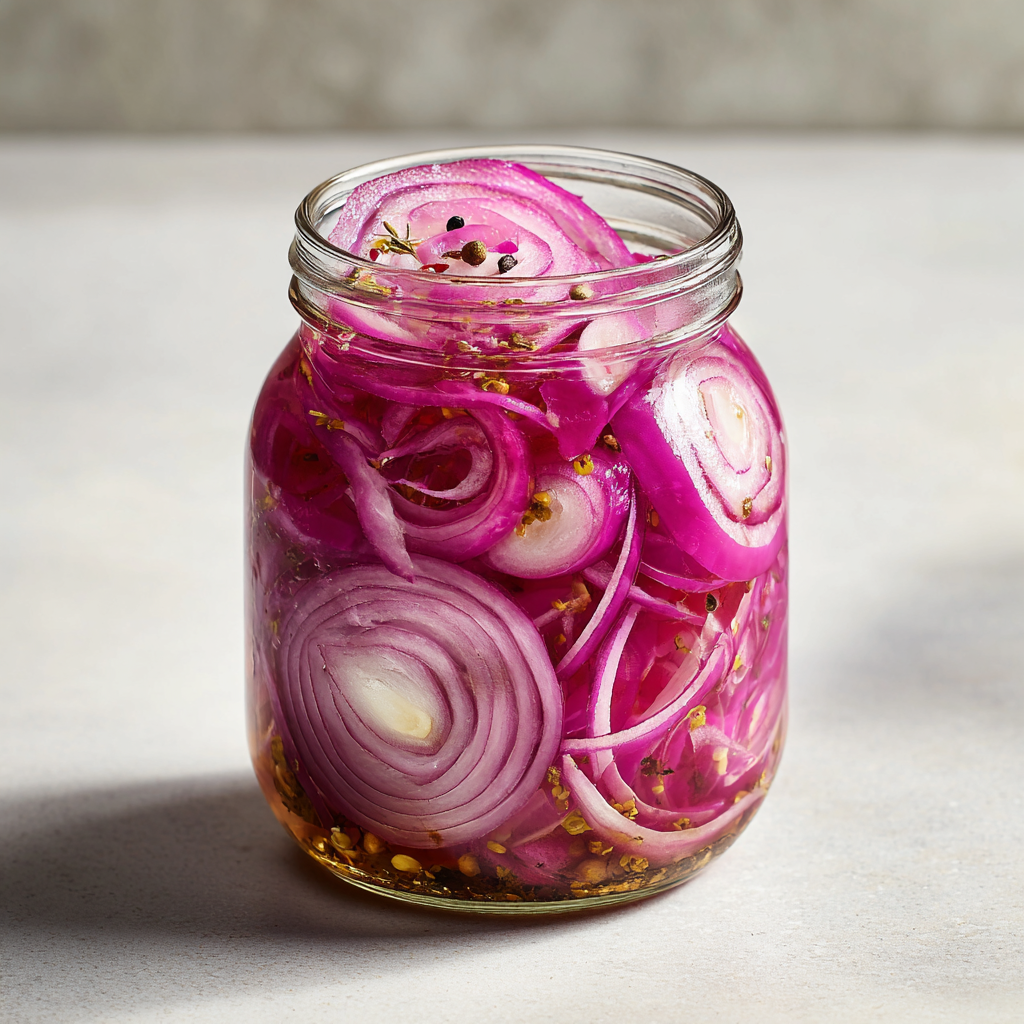
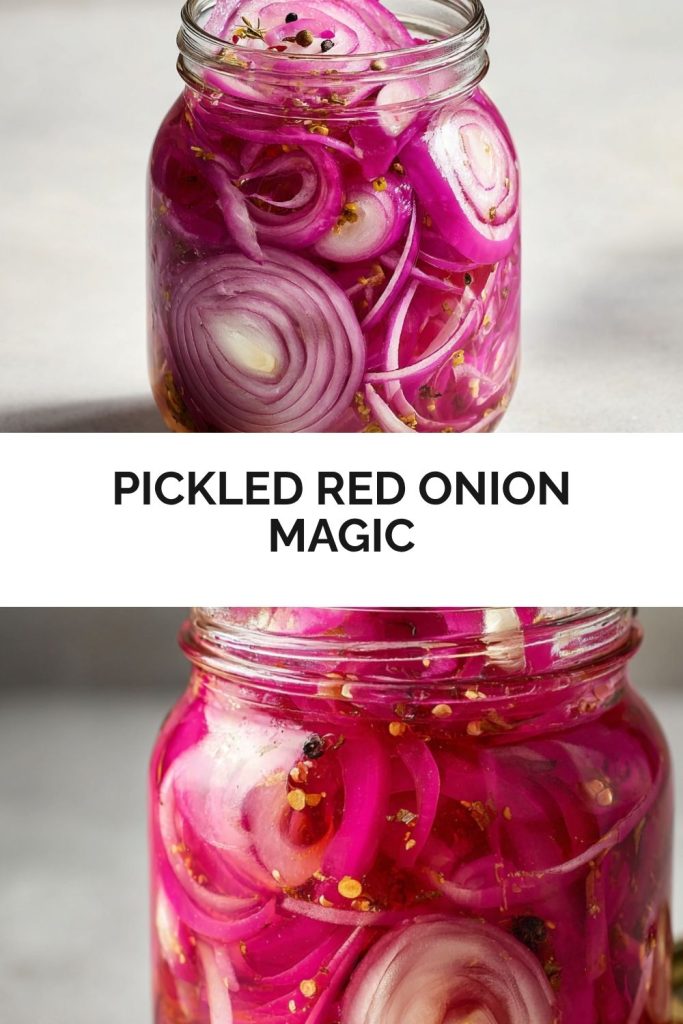
PrintPICKLED RED ONION MAGIC
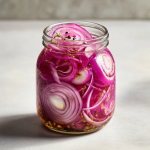
Bright, zesty, and irresistibly tangy, these pickled red onions are a kitchen essential that takes just minutes to prep and days to enjoy. They’re perfect for jazzing up tacos, sandwiches, salads, and grain bowls. Add a pop of flavor and color to your meals—once you start, you’ll want a jar in your fridge at all times!
- Prep Time: 5 minutes
- pickling time: Ready in 1 hour, best after 24 hours
- Total Time: 39 minute
- Yield: Makes about 1 cup 1x
Ingredients
1 large red onion, thinly sliced
1 cup vinegar (white or apple cider)
½ cup water
1 garlic clove, smashed
½ tsp black peppercorns
1 tbsp sugar
1 tsp salt
Instructions
Thinly slice the red onion and place it in a clean glass jar.
In a small saucepan, combine vinegar, water, sugar, salt, garlic, and peppercorns.
Bring to a gentle simmer over medium heat, stirring until sugar and salt dissolve.
Pour the hot liquid over the onions in the jar, ensuring they’re fully submerged.
Let cool to room temperature, then seal the jar and refrigerate.
Chill for at least 1 hour before serving—best after 24 hours!
Nutrition
- Calories: 5 kcal
- Fat: 0g
- Carbohydrates: 1g
- Protein: 0g
Picture this: It’s 2018. My tiny apartment kitchen smells like frying fish and desperation. I’m hosting my first “fancy” taco night for friends, aiming for “street food chic,” but my toppings are… underwhelming. Soggy lettuce? Check. Limp tomatoes? Check. My confidence is wilting faster than the cilantro. Then, I remember a jar of bright pink onions my abuela used to keep. No time for her week-long ferment, but a quick pickle? Worth a shot! I frantically slice, simmer, and pour, crossing my fingers. An hour later, we assemble. That first bite? REVELATION. The sharp tang cut through the richness of the fish, the crunch was insane, and that color? Pure joy on a tortilla. My friend Carlos, mouth full, just mumbled, “Dude, WHAT is this?! It’s magic!” That chaotic taco night taught me a huge lesson: Sometimes, the simplest touches – like these zippy onions – are what turn a meal from “meh” into “MORE PLEASE!” They’ve been my fridge superheroes ever since.
Your Flavor Toolkit: Simple Ingredients, Big Impact
Gather these pantry pals – nothing fancy required! Exact measurements are in the recipe card below, but here’s the lowdown on each player:
- 1 large red onion, thinly sliced: The star! Their natural sweetness balances the tang. Chef’s Hack: Use a mandoline for paper-thin slices (watch those fingers!) or your sharpest knife. Thinner = faster pickling + better texture.
- 1 cup vinegar (white or apple cider): The tang engine! White vinegar is clean & sharp. Apple cider vinegar adds fruity notes. Substitution: Rice vinegar works for a milder tang, or use half ACV/half white for balance. Avoid balsamic – it overpowers!
- ½ cup water: Dilutes the vinegar’s bite so it’s zippy, not face-puckering. Crucial for balance!
- 1 garlic clove, smashed: Just one! Smashing it releases flavor oils subtly into the brine without dominating. Insight: Think of it as background bass, not lead guitar.
- ½ tsp black peppercorns: Adds gentle warmth and complexity. Fun Twist: Swap with pink peppercorns for floral notes or add ¼ tsp coriander seeds!
- 1 tbsp sugar: Balances acidity and enhances the onion’s sweetness. Dietary Swap: Use honey, maple syrup, or monk fruit sweetener 1:1. Omit for keto, but add an extra pinch of salt.
- 1 tsp salt: Enhances *all* the flavors and helps draw moisture out for perfect crunch. Use kosher or sea salt.
Let’s Get Pickling! Effortless Steps to Tangy Bliss
Don’t blink – this is FAST! Here’s how we turn humble onions into fridge royalty:
- Slice & Jar Up! “Thinly slice that gorgeous red onion. Seriously, aim for see-through! Pile those vibrant ribbons into a *clean* glass jar (a 16oz mason jar is perfect). Why glass? Plastic can absorb odors, and we want pure oniony goodness! Pack ’em in fairly snugly – they’ll shrink slightly.”
- Brine Time! “Grab a small saucepan. Dump in the vinegar, water, sugar, salt, that smashed garlic clove, and the peppercorns. Give it a quick stir. Chef’s Tip: No need to dissolve the sugar/salt yet – the heat will handle it! Just get everyone acquainted in the pot.”
- Simmer & Solve! “Place the saucepan over medium heat. Let it come to a gentle simmer – you’ll see little bubbles dancing around the edge. Stir it once or twice until the sugar and salt completely disappear (about 1-2 minutes). Hack Alert: Don’t let it boil hard! A gentle simmer preserves the vinegar’s brightness. As soon as those granules vanish, you’re golden.”
- Pour & Submerge! “Carefully pour that hot, aromatic brine over the onions in the jar. Use a spoon to gently press them down so they’re fully underwater (brine-over, if you will!). Key Move: Ensure no floaters! This keeps them evenly pickled and prevents spoilage.”
- Cool Down & Chill Out! “Let the jar sit on your counter until it reaches room temperature. This usually takes 30-45 minutes. Patience Pays: Sealing it hot can create condensation, diluting your brine. Once cool, screw on the lid tightly. Pop it in the fridge!”
- The Waiting Game (Sort Of)! “Technically, they’re pickle-tastic after just 1 hour! But friends, trust me: 24 hours is the SWEET SPOT. That’s when the magic deepens – the tang mellows slightly, the color turns electric pink, and the flavors marry beautifully. But hey, if taco emergency strikes at hour 2? I won’t judge!”
Dish Up the Drama: How to Use Your Pickled Masterpiece
Get ready to sprinkle (or pile!) this pink power everywhere! Drain a forkful straight from the jar and let their zingy crunch elevate:
- Tacos/Burritos: Non-negotiable! Cuts richness on carnitas, al pastor, or black bean.
- Burgers/Sandwiches: Swap sad lettuce for these! Amazing on pulled pork, chicken salad, or veggie burgers.
- Salads & Bowls: Toss into grain bowls, green salads, or potato salad for instant brightness.
- Avocado Toast: The tangy counterpoint to creamy avocado? Chef’s kiss!
- Grilled Meats/Fish: A vibrant, acidic garnish that cuts through fat beautifully.
Store them in their brine, sealed in the fridge. They keep their best crunch and flavor for about 3-4 weeks (if they last that long!).
Mix It Up! Creative Twists on the Classic
Got the basic magic down? Time to play! Here are my favorite spins:
- Spicy Fiesta: Add 1-2 thinly sliced jalapeños or a big pinch of red pepper flakes to the jar with the onions. Heat level: Your call!
- Herb Garden Delight: Toss in a few sprigs of fresh dill, thyme, or oregano with the onions. Lends a lovely aromatic freshness.
- Warming Spices: Swap the peppercorns for ½ tsp mustard seeds + ¼ tsp coriander seeds + 1 small cinnamon stick (remove after 24 hrs). Earthy and complex!
- Beetroot Blush (Extra Vibrant!): Add 2-3 thin slices of raw beet to the jar. It intensifies the pink hue amazingly!
- No-Sugar Added: Omit the sugar entirely. They’ll be sharper and more vinegar-forward – great if you’re watching sugar or love intense tang!
Mason’s Musings: Notes from the Pickle Jar
Confession: My first batch? I used boiling brine and sealed it immediately. The result? Slightly soggy onions and diluted flavor. Lesson learned: Cooling matters! Over the years, this recipe became my “kitchen sink” for flavor experiments. That cinnamon twist? Inspired by a chutney I tried in London. The beet addition? Pure accident (dropped a slice in while prepping salad!). The funniest moment? When my partner tried to use the vibrant pink brine as a “natural dye” for Easter eggs. Let’s just say… the eggs were interesting, but the brine was ruined! These onions have evolved from a taco topping to my ultimate flavor enhancer. I’ve even stirred a spoonful of brine into salad dressings or bloody marys! They’re living proof that the simplest things, made with a little love (and vinegar!), often become the most beloved.
Pickle Problems? Solved! Your FAQs Answered
Got questions? I’ve probably asked them too! Here’s the scoop:
- Q: How long do they REALLY last in the fridge?
A: Properly stored (submerged in brine, sealed jar), they stay deliciously crunchy and safe for 3-4 weeks. The color might fade slightly after 2 weeks, but flavor remains great! If it smells funky or gets cloudy, toss it. - Q: Why aren’t my onions turning bright pink? They’re still kinda purple!
A: Don’t panic! The vibrancy depends on the onion and the vinegar. ACV usually gives a deeper pink than white vinegar. They’ll also get pinker over the first 24 hours. If they’re still pale after a day, adding a tiny slice of raw beet next time guarantees fireworks! - Q: Can I use white or yellow onions instead?
A: You can, but it’s a different vibe! Red onions are sweeter and have those gorgeous anthocyanins (the pink pigments). White/yellow onions will be sharper and won’t turn pink. Still tasty, just less “magic” visually. - Q: Help! My onions are too vinegary/sharp! How do I fix it?
A: Easy fix! Drain off about half the brine and replace it with cold water. Give it a gentle stir and let them sit in the fridge for another hour. Taste and repeat if needed. Next time, try using 3/4 cup vinegar + 3/4 cup water or add an extra 1/2 tbsp sugar. - Q: Can I make these without sugar? What about salt?
A: Sugar: Absolutely! Omit it or use a keto-friendly substitute (see Variations). They’ll be tangier. Salt: Don’t skip it! Salt is crucial for flavor development and texture. If sodium is a concern, reduce to 1/2 tsp, but expect slightly less depth.
Nutritional Info (Per 1 tbsp serving)
Servings: Makes about 1 cup (16 tbsp) | Prep Time: 5 mins | Pickling Time: Ready in 1 hour, best after 24 hours
Calories: ~5 kcal | Fat: 0g | Carbohydrates: 1g | Protein: 0g
Final Thoughts
If you’ve ever wondered how to level up everyday meals without spending hours in the kitchen, pickled red onions are your new secret weapon. They’re fast, flexible, and totally transformative—proof that big flavor doesn’t need big effort. Whether you’re topping tacos, adding crunch to salads, or just sneaking forkfuls straight from the jar (no shame here), these punchy pink gems are the kind of kitchen magic that keeps on giving. So next time your dish needs a lift, skip the store-bought sauces and reach for the jar of bold, zippy brilliance you made yourself. Your future self (and your taste buds) will thank you.